 Moose's Minecraft Mural Maker
Turn any image into Minecraft blocks
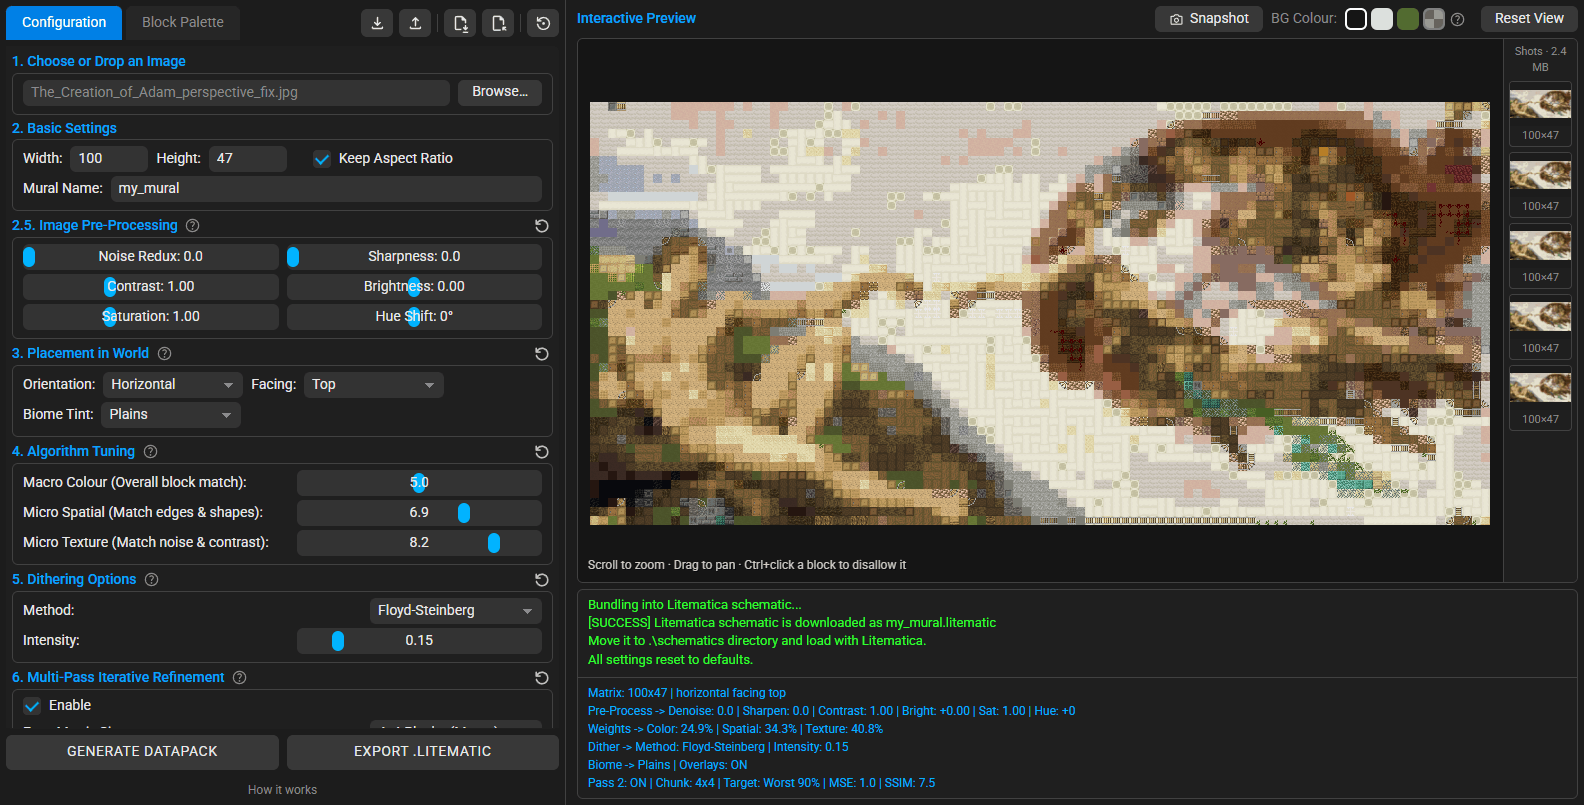
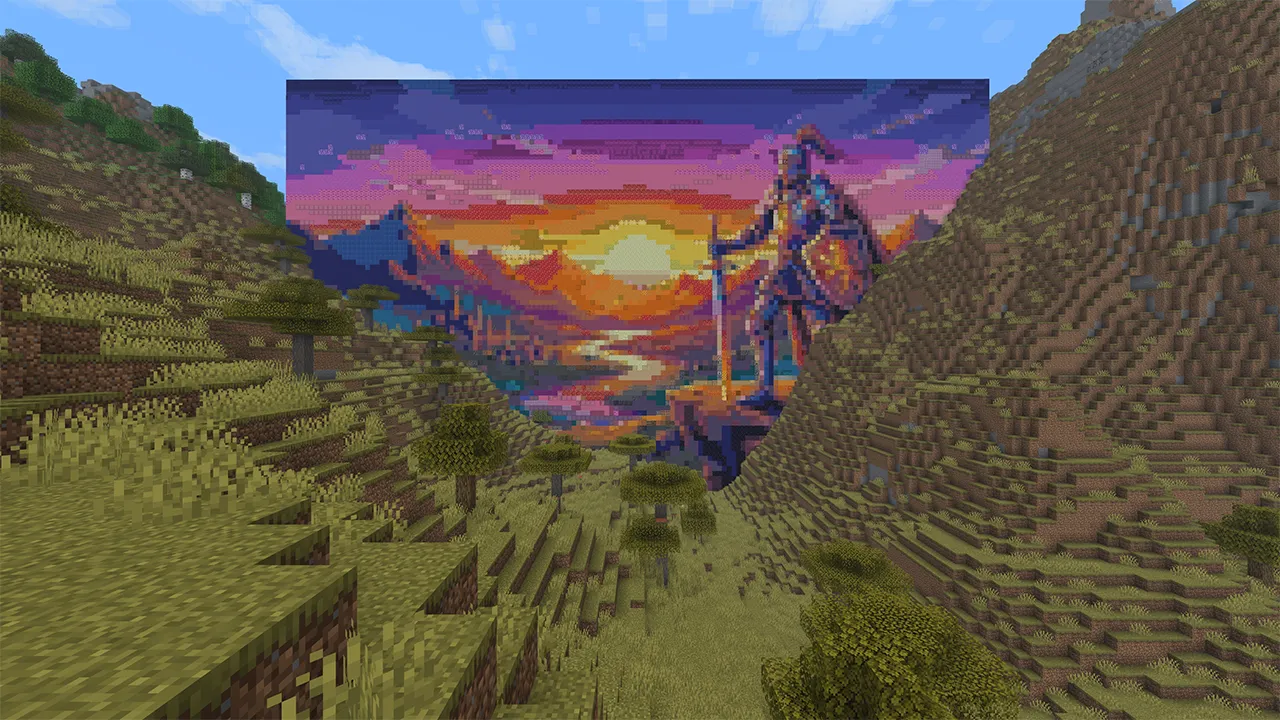
A Minecraft pixel art and mural generator. Drop in a picture, pick the blocks you want to use, and get back a mural you can build — as a datapack to import without mods, or a Litematica schematic to paste in creative or build in survival.
Open the Mural Maker See how it works
- Fast & intuitive
- Customizable
- Runs in browser
- Nothing uploaded
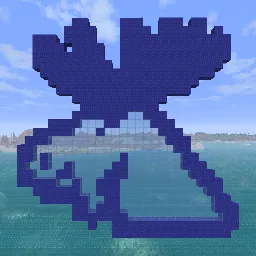
What this tool does
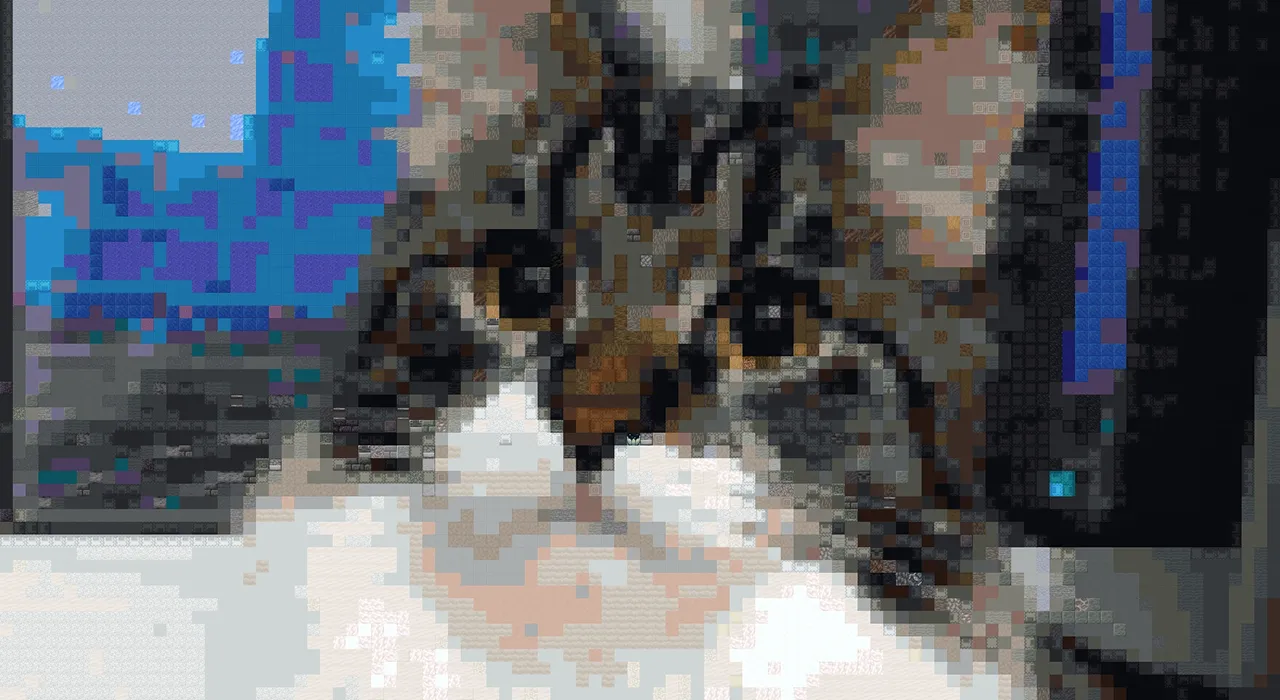
It processes the handed image and generates a build you can place in Minecraft. It all runs in your browser: the image is never uploaded.
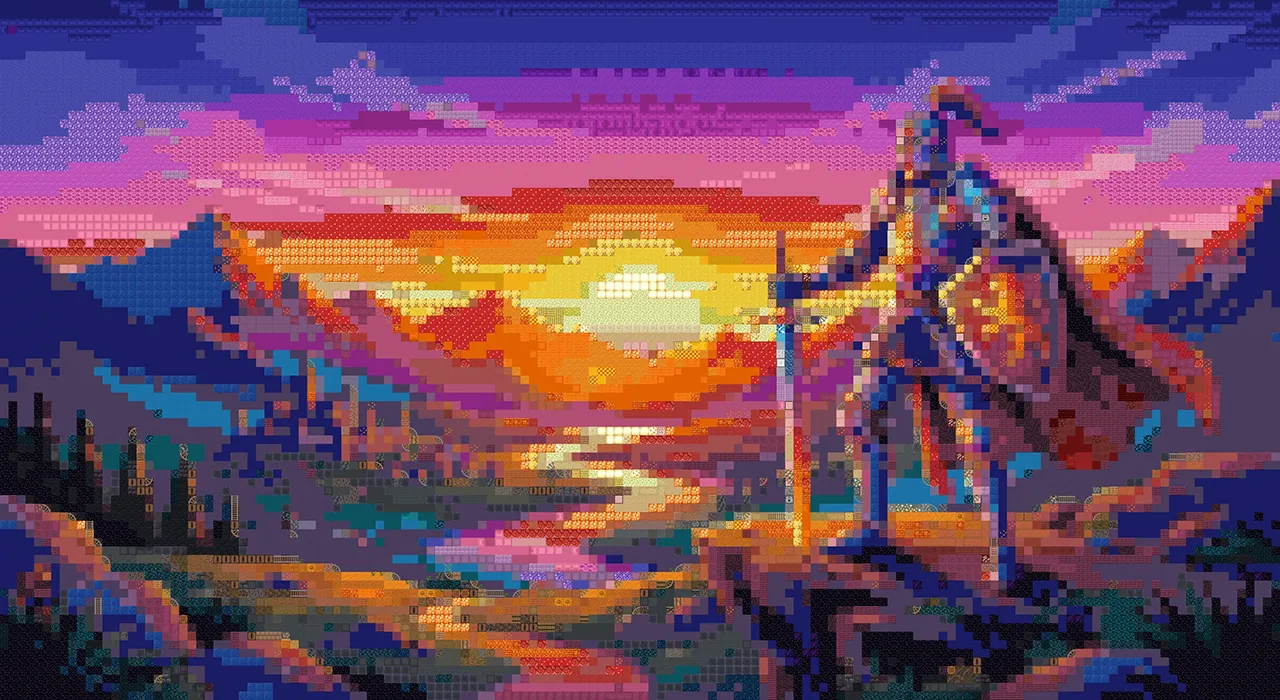
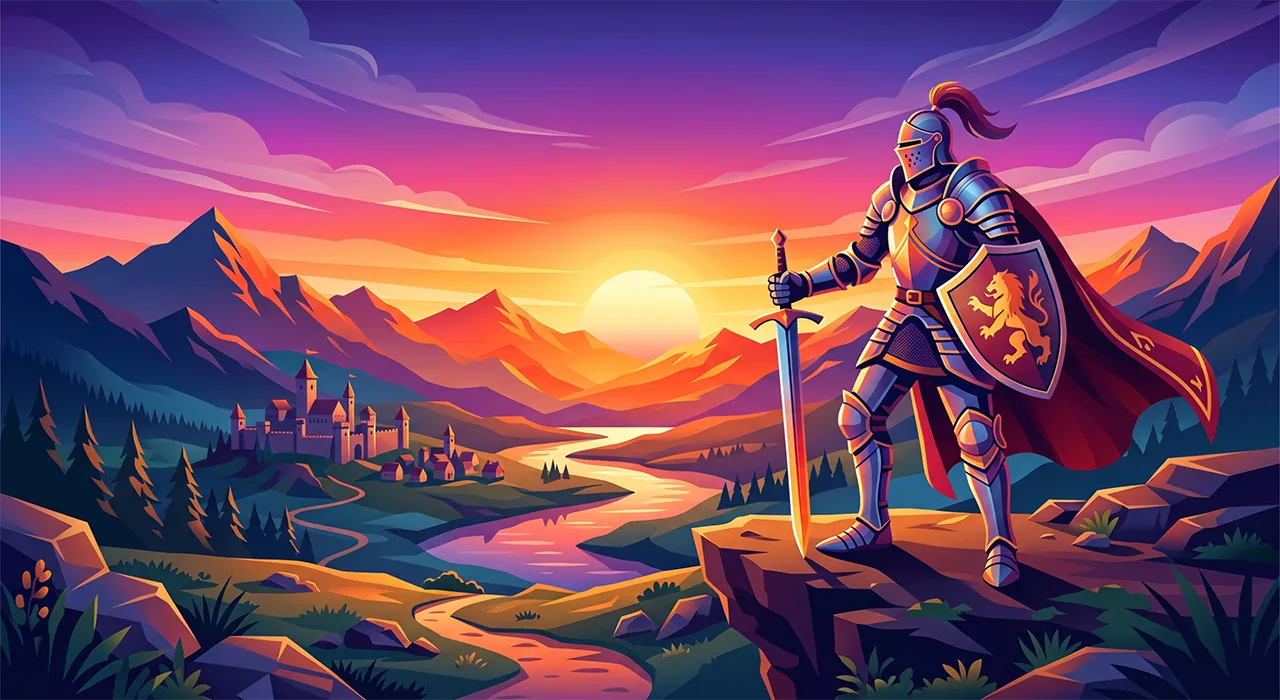
How it works
-
Load an image
Drop in a picture and set the mural's size in blocks. The preview updates as you change things.
-
Choose your palette
Pick your Minecraft version and the blocks you can actually gather, one by one or a group at a time.
-
Tune the result
The defaults are a good start. Dithering, refinement and the rest are there when an image needs more.
-
Export and build
A
datapackthat places the mural with vanilla commands, or a.litematicschematic to paste in creative or build in survival.
How is it different
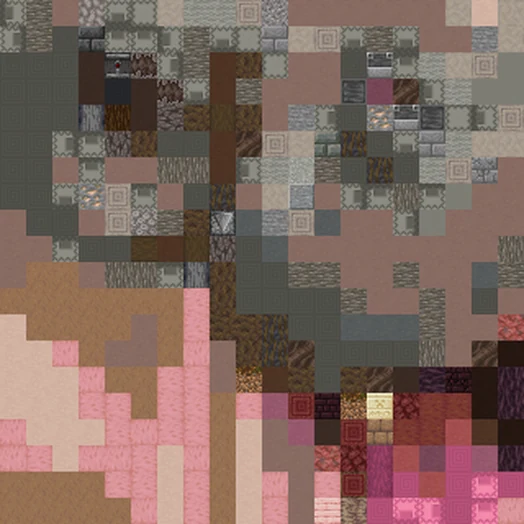
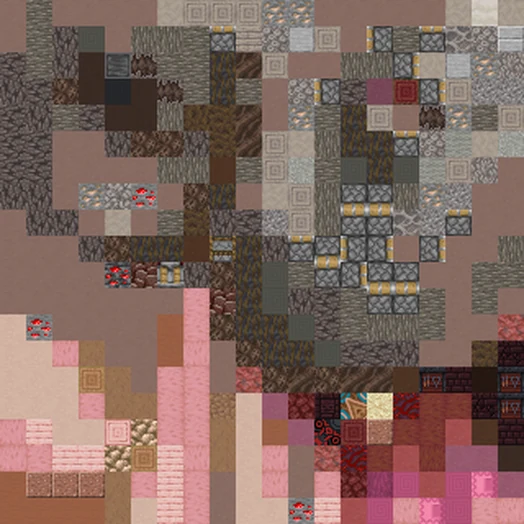
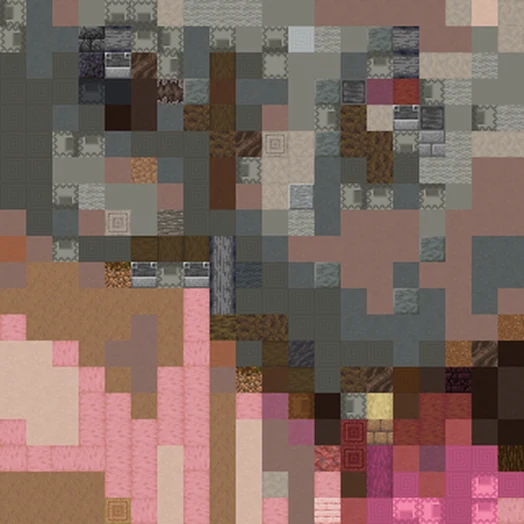
Most converters average each block down to one colour and pick the nearest. That works for map art, less so for a wall you stand in front of. This one:
- measures colour in CIELAB, which closer mimics how your eyes perceive colour, instead of RGB;
- compares each segment of the image with the full 16×16 block texture, instead of shrinking the image to one pixel per block. Stone and stone bricks average out to almost the same grey, but one is smooth and the other has structured lines.
Three weights set what counts most:
- Macro colour
- The block's average colour. Leads on skies, gradients and flat areas.
- Micro spatial
- Where light and dark sit inside the texture. Keeps edges, lettering and outlines readable.
- Micro texture
- How busy the texture is. Raise it to match grain, lower it to keep smooth areas calm.
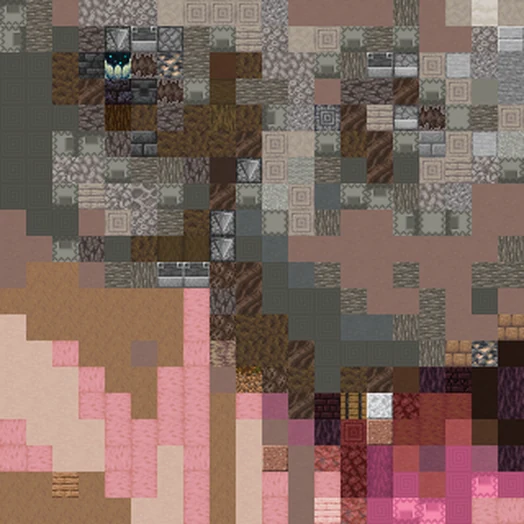
Building a block palette
The palette shapes the result more than any other setting. It starts with every survival block that has a unique square face; narrowing it to what you can gather, or to a deliberate look, usually works better.
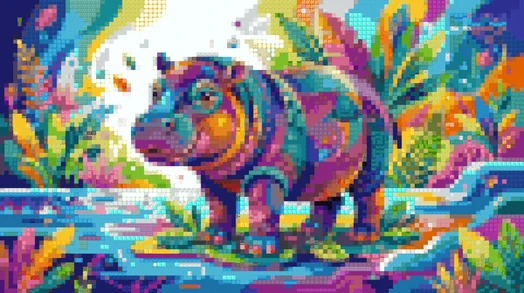
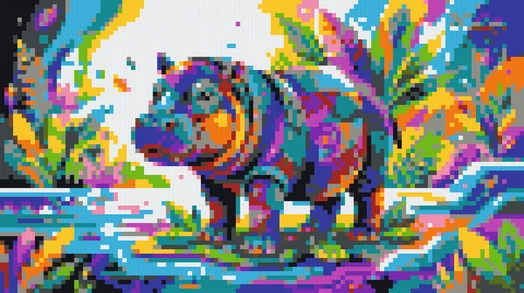
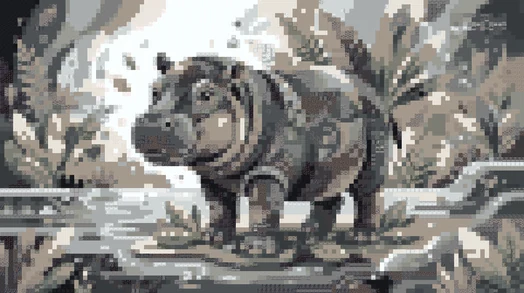
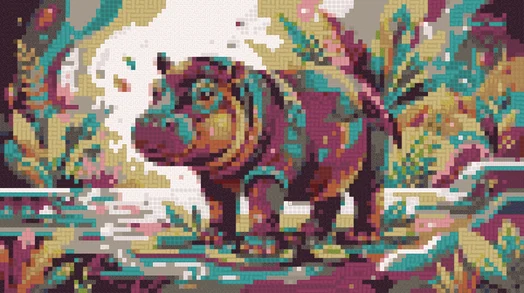
- Multiple Minecraft versions support
- You can switch between blocks available across different versions from 1.13 to 26.3. The palette keeps only the blocks that exist in the version you pick.
- Search and groups
- Type in block names or filter by pre-defined block groups.
- Moose's Choice
- A recommended set in one click: no transparent, deteriorating or creative-only blocks, and few block entities.
- Ctrl+click
- Disallows the block you click in the preview.
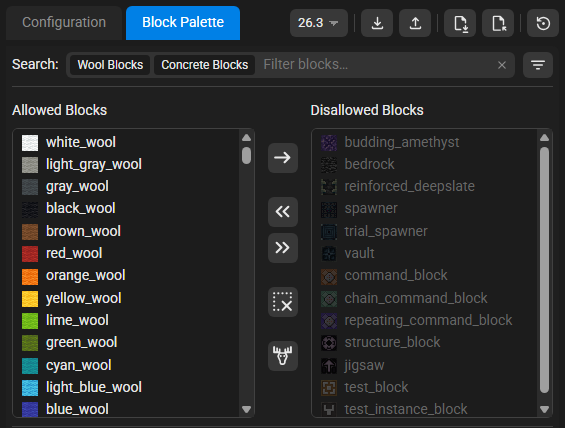
Overlays (experimental)
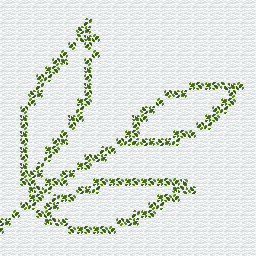
A second thin block on top of the base one — rails, redstone dust, vines, glow lichen and so on — to reach colours and textures the base palette cannot. Minecraft's rules for where an overlay can sit, and how it changes next to its neighbours, are applied during matching, so the preview shows what you will get in game.
The settings, group by group
Image pre-processing
Applied to the source before any block is chosen, like a pass through an image editor.
- Noise reduction
- Clears JPEG artefacts or digital noise that would otherwise turn into scattered blocks.
- Sharpening
- Helps small murals keep their outlines.
- Brightness, contrast
- For a source too dark, too light or too wide in range for the palette to reach.
- Hue shift, saturation
- Steer the image toward the colours the palette has. Lower the saturation for a greyscale palette.
Placement in the world
- Orientation
- Vertical is a wall facing any compass direction, horizontal a floor or ceiling. It matters, because many blocks have multiple textures for their sides and their own rotation rules.
- Biome tint
- Grass, leaves, vines and a few others take their colour from the biome. Pick the one you will build in.
- Background colour
- What shows through transparent blocks, in the preview and in the matching: dark, light or biome grass. The transparent option carries the image's own transparency into the mural.
Dithering
Neighbouring segments of a mural take blocks that average out to a colour no single block has. The smaller the palette, the more it does. From a distance the mural reads closer to the image; close up it is a speckle of mixed blocks. Leave it off for logos, flat-colour illustration and pixel art.
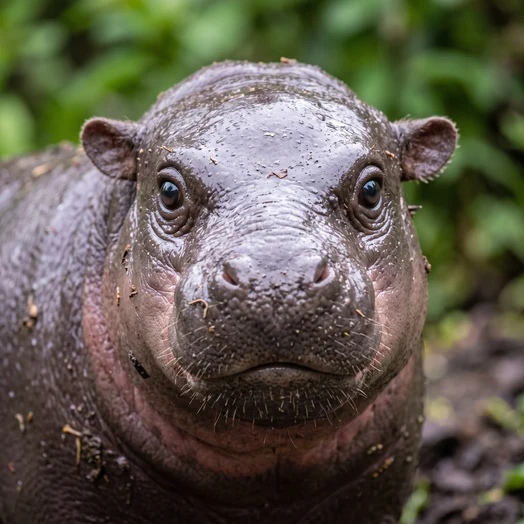
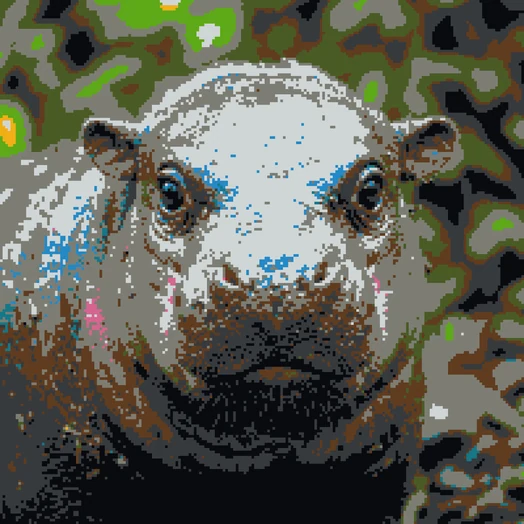
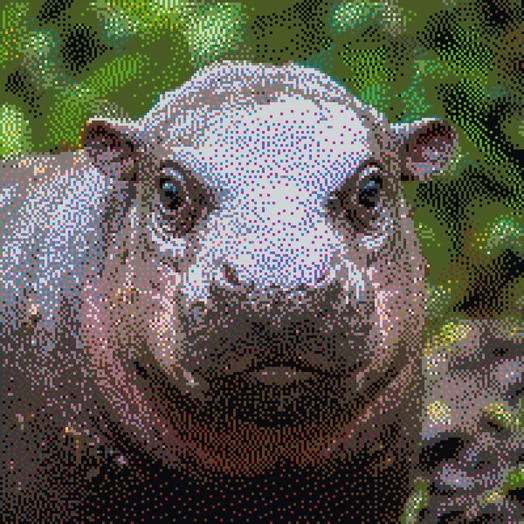
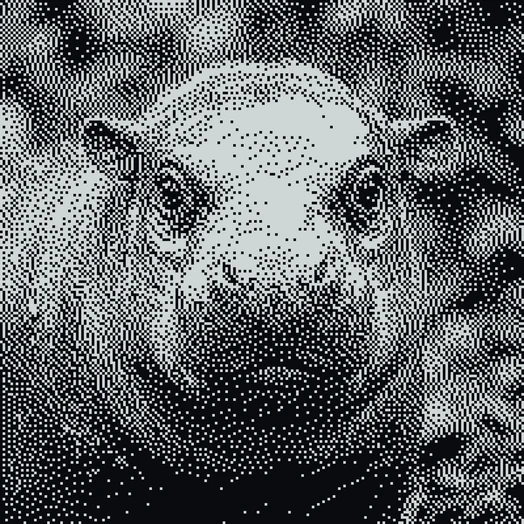
Refinement and feathering make room for it: the stronger the dithering, the less they change, and at full intensity feathering is off.
- Floyd-Steinberg
- Pushes leftover error to neighbouring cells as it scans. The smoothest gradients, and the slowest.
- Atkinson
- Spreads less of the error. Keeps contrast, can band in very smooth areas and also slow.
- Bayer 4×4, 8×8
- A fixed crosshatch. Fast, predictable, and it tiles rather than drifting, for a retro look.
- Random noise
- Hides banding well, looks grainy close up.
- Intensity
- At 1 the dithering is complete; lower values mix less and leave more to refinement and feathering.
Multi-pass refinement
The first pass picks each block on its own: fast and mostly right, but blind to whether the blocks add up to the right picture. Refinement goes back over the mural, tries each block's runner-up candidates, and keeps a swap only when the area around it ends up closer to the source.
- Error matrix size
- How large an area is judged at once: 1, 2, 4 or 16 blocks across, or the whole image.
- Error-seeking threshold
- For the smaller cell sizes: how much of the mural is revisited, worst areas first. 0.25 means the worst quarter.
- Passes
- How many times each area is gone over. Usually 1 extra pass is enough to fix most of the errors.
- Candidates per block
- How many of its best matches a block may switch between.. More to try, slower to solve.
- MSE and SSIM weights
- What "closer to the source" means. Raise recursive denoising (MSE) when the result looks noisy, edge preservation (SSIM) when detail gets smoothed away.
Experimental
Newer steps that run after everything above. Could play rough together with the base settings.
- Feathering
- Where two blocks meet in a hard edge that the picture does not have (like in gradients), it mixes those two blocks across a band. It narrows as dithering intensity goes up, since dithering already does the mixing. Runs last, on the finished mural.
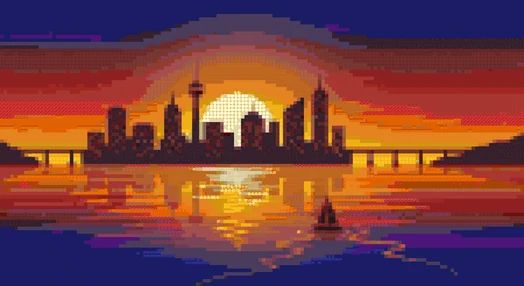
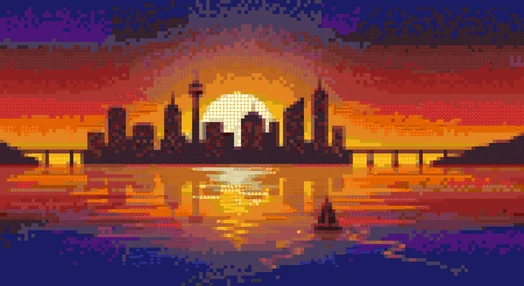
The other three run a second, slower block search, on murals of up to 90,000 blocks:
- Grain in flat areas
- How rough a block may be where the picture is smooth. Low keeps skin and sky to calm blocks, high lets grainy ones in.
- Flat areas: colour over texture
- How strongly a block in a flat area is chosen for its overall colour instead of its pattern.
- Protect fine texture
- Keeps the two above away from fine, messy detail: hair, fur, foliage.
Snapshots and presets
- Snapshot
- A picture of the current preview together with its settings. Hover one to see it over the preview, click it to bring those settings back. The last twelve are kept until you load another image.
- Preset
-
Every setting, palette included, but not the image or its size. Save it in the
browser, or export it as a
.jsonfile to keep or share.
Building it: datapack or Litematica
- Datapack
-
A zip for your world's
datapacksfolder. Reload, run the generated command(s), and the mural places itself relative to where you stand. Vanilla Minecraft, no mods, but you need operator permissions. - Litematica schematic
-
A
.litematicfile for the Litematica mod: drop it in theschematicsfolder and load it in game. The better choice for survival, with a "hologram" of what to place and a full material list up front.